Or, 'what to do when you don't have a cookie cutter.' There have been times where I've wanted to make a cookie but I either couldn't find the shape I wanted in a cookie cutter, or (like this time) didn't have the time to go looking for it or order it, although there are a bunch of really cute ones available to be ordered! If you don't have a cookie cutter, go online and print the shape you want in the size you want it to be. Then cut that shape out of heavy paper (I use scrapbook paper). Then you roll out your dough and carefully cut around your template with a sharp knife.

After you've cut out a tray full of cookies, put the cookie sheet in the freezer for a few minutes to firm up the dough. Cutting the cookies by hand takes more time than using a cookie cutter, so the dough generally becomes much softer. By putting it in the freezer for a few minutes you can be more sure they will bake and stay in the shape you wanted.

Here's what I did for Jill's cookies!
Hot chocolate cookie dough:
2 sticks cold butter
2 cups sugar
2 exra large eggs
1 tsp vanilla
1/2 tsp kosher salt
1/2 tsp baking powder
4cups all purpose flour
1 T honey
1 tsp cinnamon
1/3 cup cocoa powder
2 T hot chocolate mix
In the bowl of an electric mixer, cream the butter and sugar. When light and fluffy, add the honey, vanilla, cinnamon, and eggs. Beat until smooth. Sift all dry ingredients together. Slowly add the dry ingredients to the butter mixture. Beat until just mixed- the mixture may still be a little crumbly. Wrap the dough in several layers of plastic wrap and refrigerate at least one hour.
When you're ready to bake, preheat oven to 350. Line cookie sheets with parchment paper. Roll out dough to 1/8 inch thick, and cut into desired shapes. Bake for 8-12 minutes, depending on the size of your cookies. Cool completely in wire racks before icing.
Royal Icing
3 extra large egg whites
2 lbs powdered sugar
1 T corn syrup
Several tsp water
In the bowl of an electric mixer fitted with the paddle attachment, beat egg whites and powdered sugar until just mixed. Add corn syrup and begin to beat at medium speed. Add water by the teaspoonful until the icing is smooth but very thick (usually I only need 3-5 teaspoons of water). Beat until the icing holds stiff peaks.
Divide the icing into bowls and tint it to the colors you want. For these masks I used Americolor black, violet, leaf green, and Wilton golden yellow.

Fit your piping bags with #3 tips, and fill with icing. Then thin the rest of the icing to the consistency of thick syrup, transfer the thinned icing to squeeze bottles. For these cookies you will need mostly piping consistency icing, and not a lot of thinned 'flood' icing.
Working 6 cookies at a time, outline the cookies, and draw in the eyes.

(These pictures are TERRIBLE! I have got to stop doing this when its so dark out!)
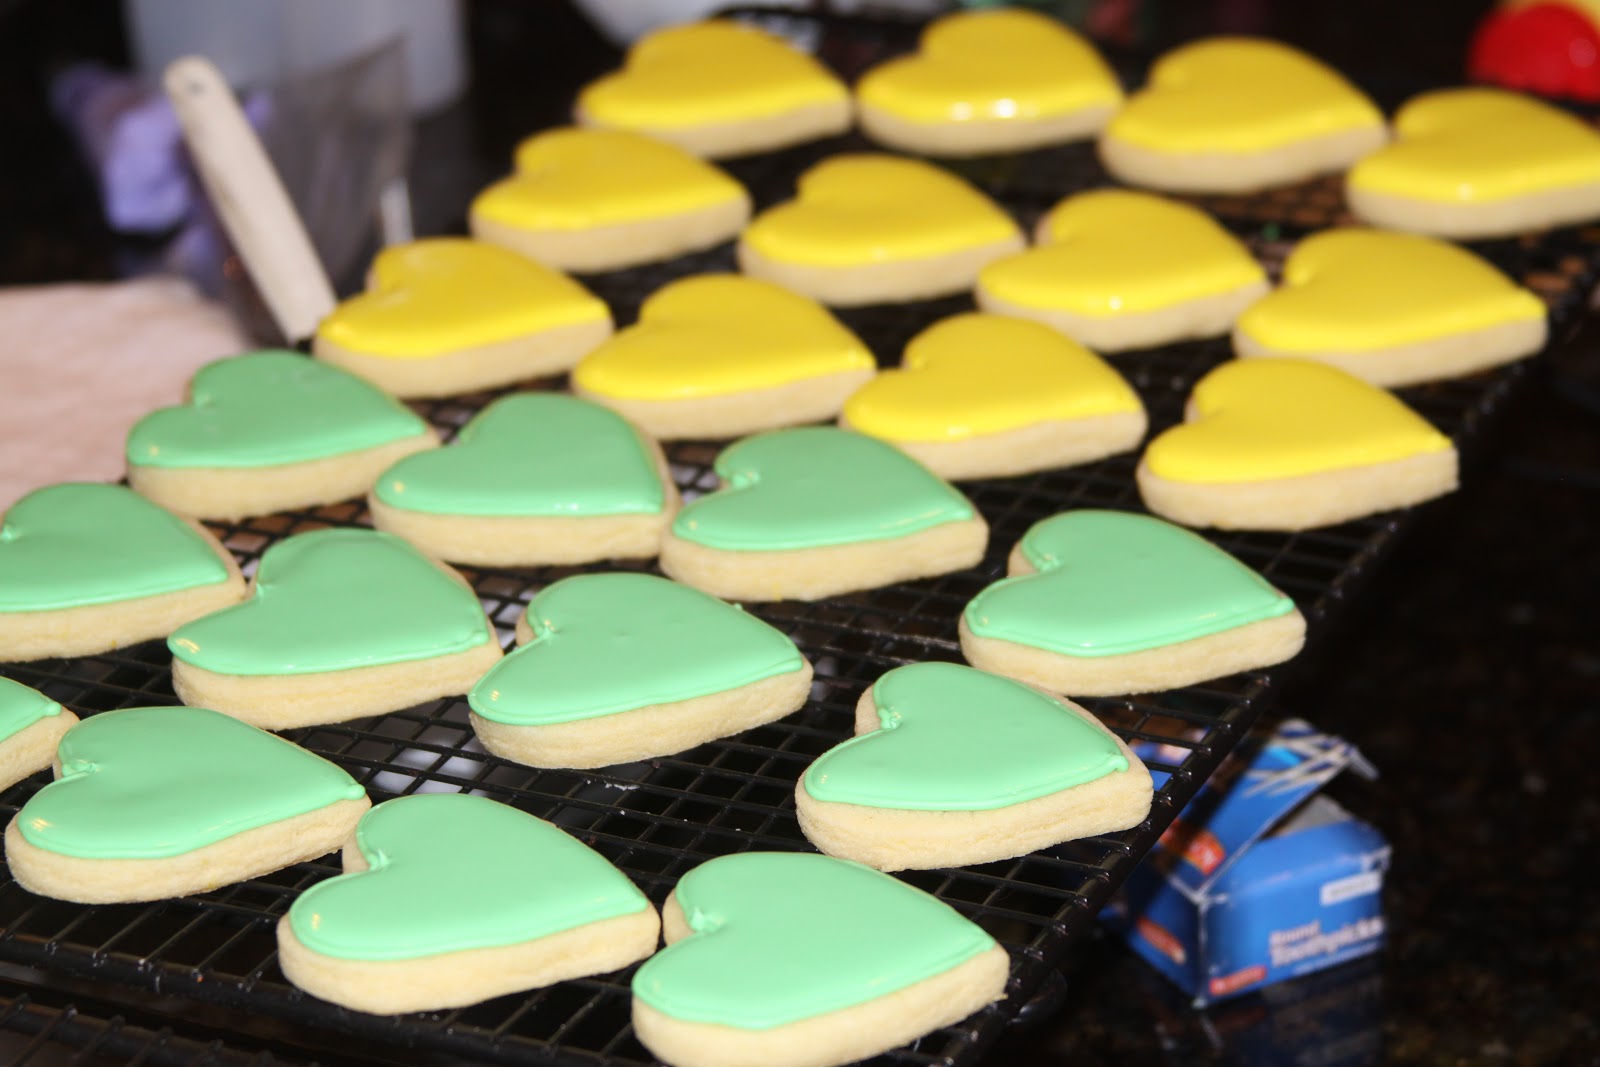
Flood the outlined cookies. Use a toothpick to guide the icing into the corners.


Let the cookies sit for about an hour, then go back and pipe on the details. Be creative! Mardi Gras masks are colorful and intricate, so let your imagination go!

Let the cookies sit out for 8 hours or overnight to dry. When they're dry, add the final details: sanding sugars, pearl or luster dust, and disco dust to make them really stand out and sparkle!